Arduino, a versatile open-source electronics platform, has evolved far beyond its initial applications. From simple LED projects to sophisticated robotics, Arduino enthusiasts continue to push the boundaries of creativity. One fascinating aspect of Arduino’s capabilities is its potential for game development, particularly when coupled with LCD screens. In this article, we’ll delve into the exciting world of Arduino games with LCD screens, exploring everything from basic setups to advanced game programming techniques.
Getting Started with Arduino
Before diving into the realm of Arduino games, let’s take a moment to familiarize ourselves with the basics. Arduino boards come in various shapes and sizes, each equipped with its set of features. To begin, you’ll need an Arduino board, such as the popular Arduino Uno, and a computer to run the Arduino IDE (Integrated Development Environment).
Understanding LCD Screens for Arduino
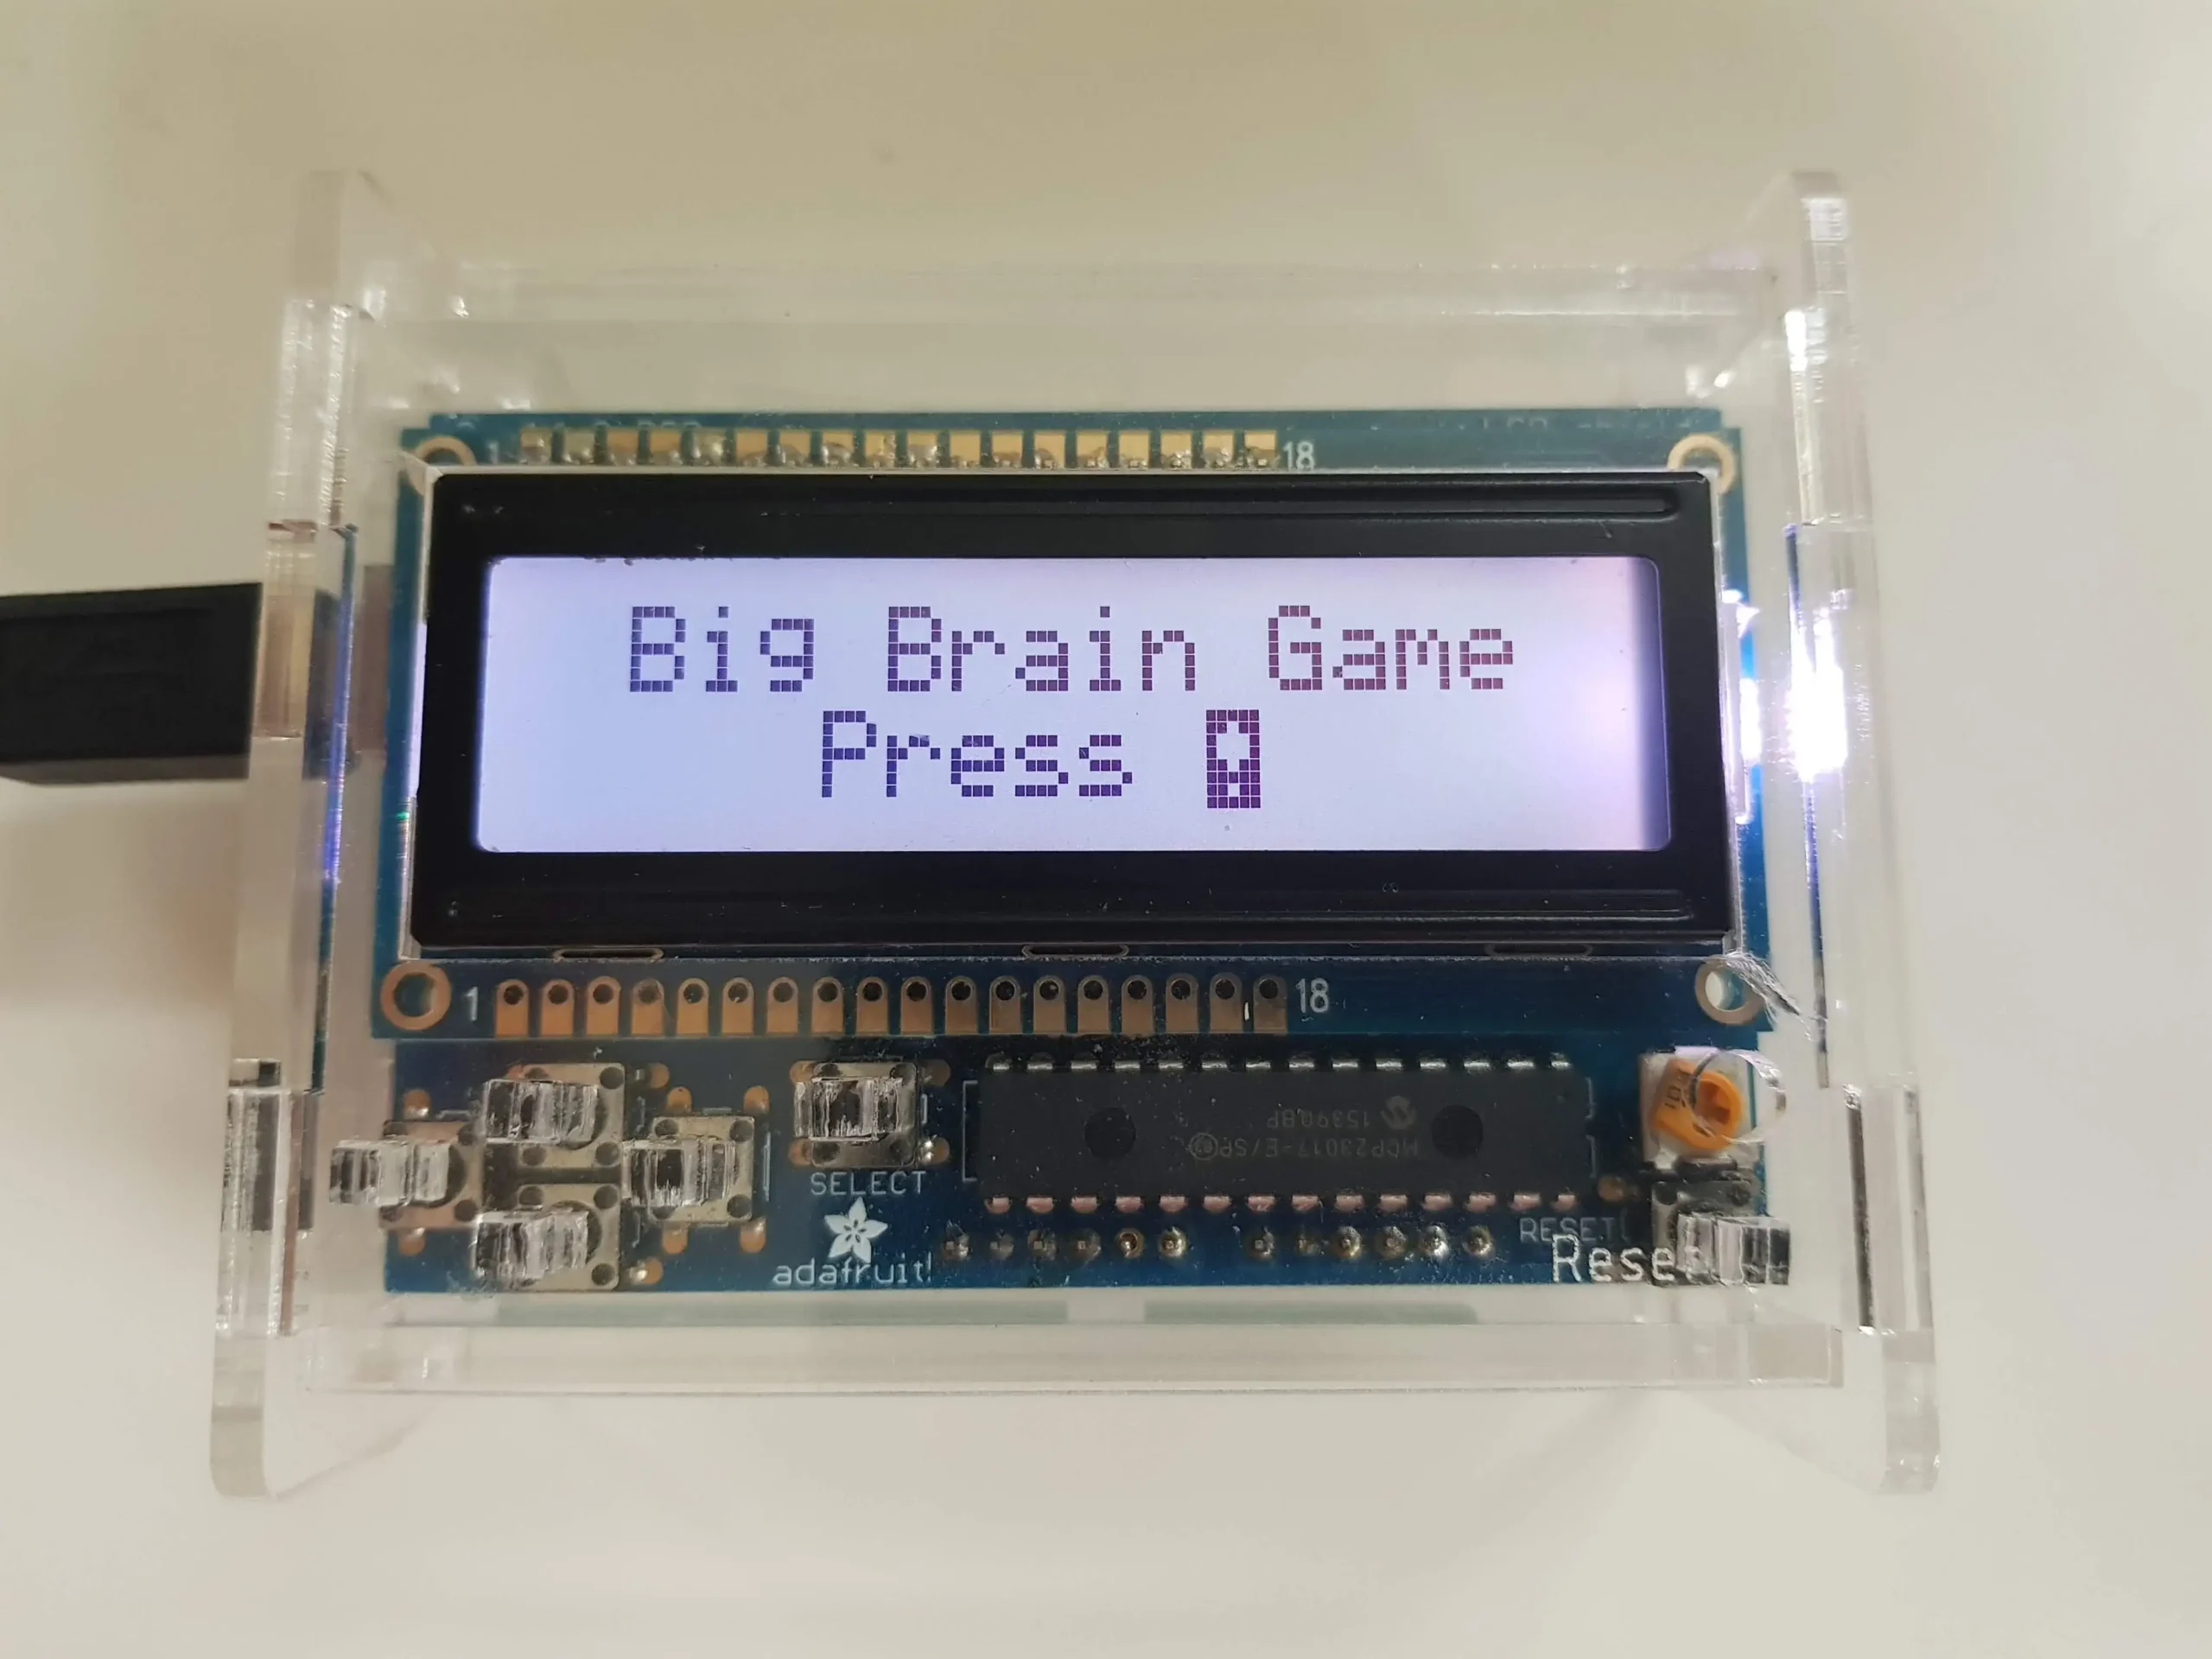
LCD screens play a pivotal role in creating visual interfaces for Arduino games. Different types of LCD screens are compatible with Arduino, including character LCDs and graphical LCDs. Connecting and configuring these screens might seem daunting initially, but fear not – it’s a manageable process.
Basic Arduino Game Programming
With the setup in place, it’s time to dip our toes into Arduino programming. Arduino uses a simplified version of C++, making it accessible even for beginners. We’ll start by writing code for basic games, exploring the fundamentals of user input, conditional statements, and loop structures.
Intermediate Game Development with Arduino
As your confidence in Arduino programming grows, so will the complexity of your games. In this section, we’ll explore intermediate game development, introducing concepts like scorekeeping, level progression, and incorporating external sensors for interactive gameplay.
Advanced Arduino Game Techniques: Bringing Games to Life
In this section, we’ll explore advanced game development techniques that elevate your Arduino games to a new level. As you delve deeper into the realm of creativity, we’ll guide you through incorporating graphics, animations, and sound effects into your projects, all while keeping in mind the constraints of the limited resources available on Arduino.
Graphics Integration: Painting a Visual Canvas
Creating visually appealing games on Arduino requires a clever use of graphics. While Arduino might not match the graphical prowess of high-end gaming platforms, it’s still capable of rendering basic shapes and patterns. We’ll discuss techniques to draw lines, circles, and rectangles, allowing you to design engaging game interfaces.
To begin, consider defining custom characters to represent game elements. By using the LCD screen’s ability to display custom characters, you can personalize your game’s visual elements, giving it a unique and distinguishable appearance.
Animations: Adding Motion to Your Games
Animating game elements adds a dynamic dimension to your projects. Despite the limited processing power, Arduino can handle basic animations effectively. We’ll cover concepts such as sprite animation, where a character or object moves seamlessly across the screen.
Explore sprite sheets to efficiently manage and display multiple frames of animation. By manipulating these frames in succession, you can create fluid movements that enhance the overall gaming experience. We’ll provide sample code snippets to get you started with incorporating animations into your games.
Sound Effects: The Auditory Experience
Sound effects play a crucial role in immersing players in the gaming experience. While Arduino doesn’t support high-fidelity audio, you can still generate simple tones and beeps to add a layer of interactivity to your games.
We’ll guide you through using a piezo buzzer or a passive buzzer to produce various sounds. Whether it’s a victory jingle, an alert, or a collision sound, you’ll learn how to synchronize these audio cues with in-game events. Additionally, we’ll discuss the importance of timing and frequency adjustments to achieve the desired sound effects.
Optimizing for Performance: Striking a Balance
As you incorporate advanced features into your games, it’s crucial to optimize your code for performance. Arduino’s limited resources require a thoughtful approach to prevent slowdowns or erratic behavior.
Explore techniques such as double buffering to reduce flickering in animations and optimize memory usage. We’ll also delve into efficient coding practices, ensuring that your game runs smoothly without taxing the Arduino’s capabilities.
Challenges and Solutions: Navigating Advanced Game Development
Undoubtedly, you’ll encounter challenges as you venture into advanced game development on Arduino. Whether it’s managing memory constraints, fine-tuning animations, or achieving the right balance between graphics and performance, we’ll provide practical solutions to keep your projects on track.
Conclusion: Mastering Advanced Techniques
By mastering advanced Arduino game development techniques, you open up a world of possibilities for creating captivating and interactive projects. Whether you’re aiming for visually stunning graphics, fluid animations, or immersive soundscapes, the combination of creativity and technical skill will define your success in this exciting realm of electronic gaming.
Examples of Arduino Games with LCD Screen
To inspire your creativity, here are a few examples of Arduino games with LCD screens. From classic games like Pong to innovative new concepts, these examples come with code snippets and explanations, providing a valuable learning experience.
- Pong Game: Bringing Back the Classics
- Code snippet and explanation for a simple Pong game.
- Reaction Time Tester: Interactive and Fun
- Create a game that tests your reaction time using sensors.
- Space Invaders: Graphics and Animation
- Introduce graphics and animation to simulate the classic Space Invaders game.
Tips for Optimizing Arduino Games
Developing games on Arduino presents unique challenges due to limited resources. Learn valuable tips for optimizing your code, ensuring smooth gameplay without overburdening the hardware. From memory management to efficient use of processing power, these tips will enhance your game development skills.
Challenges and Solutions
As you embark on your Arduino game development journey, you may encounter challenges. Whether it’s handling input delays or optimizing code for performance, this section addresses common issues and provides practical solutions to keep your projects running smoothly.
Community and Resources for Arduino Game Developers
Connect with a vibrant community of Arduino enthusiasts and game developers. Online forums, social media groups, and dedicated websites offer a wealth of knowledge and support. Additionally, explore recommended resources, including tutorials, books, and tools, to further enhance your skills and troubleshoot any hurdles.
Conclusion
Embarking on Arduino game development with LCD screens opens up a world of possibilities for creative expression in electronics. From basic games to sophisticated projects, the combination of Arduino and LCD screens offers a unique platform for innovation. So, grab your Arduino board, fire up the IDE, and start creating captivating games that showcase the power of this remarkable technology.